Welcoming a newborn into your family is a precious and unforgettable moment. Capturing these first days with photographs is a treasured tradition for many Toronto families. But as much as you want to remember your baby’s innocence, softness, and charm, poor lighting in a newborn session can easily spoil those priceless images. If you’re a parent-to-be or a photography enthusiast in the GTA, learning about newborn photography lighting mistakes in GTA studios—and how to avoid them—can make all the difference.
Why Lighting Is the Secret Ingredient in Newborn Photography
Lighting sets the tone, mood, and emotion of every photograph. In newborn photography, it’s even more critical: soft, flattering lighting highlights a baby’s delicate features, while harsh or uneven lighting can obscure details or create unflattering shadows.
Many GTA studios offer professional setups, yet lighting errors can still occur. These mistakes might stem from inexperience, improper equipment, or simply overlooking the nuances needed for newborn portraits. By avoiding these pitfalls, you’ll ensure that your baby’s first photos are beautiful and timeless.
Common Newborn Photography Lighting Mistakes in GTA Studios
Let’s unpack the most frequent lighting mistakes that happen in GTA studios, along with insider strategies to prevent them:
1. Using Harsh, Direct Flash
Direct flash produces strong, unnatural shadows, flattens facial features, and is often uncomfortable for babies’ sensitive eyes. Some studios reach for on-camera flash when natural light is lacking, but this should always be avoided during newborn sessions.
How to Avoid:
- Opt for diffused lighting using softboxes or umbrellas.
- If natural light is available, position the baby near a large window with sheer curtains for soft, even illumination.
- When using studio lights, always point them toward a reflector or bounce off the ceiling or walls to disperse the light.
2. Creating Unwanted Shadows
Shadows can be powerful when controlled, but uncontrolled, deep shadows across the baby’s face or tiny hands can be distracting. This usually comes from placing lights at awkward angles or having just a single hard light source.
Tactics to Eliminate Poor Shadows:
- Use at least two light sources: a primary (key) light and a fill light or reflector to soften any shadowed areas.
- Ensure lights are placed at 45-degree angles for a natural, flattering look.
- Always inspect the shadows before taking the shot; adjust as necessary to highlight all features gently.
3. Ignoring White Balance and Color Temperature
Mixing different light sources (such as daylight combined with incandescent bulbs) can result in color casts, where your baby appears too yellow or blue. This mistake is common in makeshift or poorly equipped studios across the GTA.
Tips for Correct White Balance:
- Set your camera’s white balance manually according to your main light source.
- A void using mixed lighting; stick to either all natural or all artificial light if possible.
- Bring a grey card or use a white onesie in test shots for accurate color calibration.
4. Overexposing or Underexposing the Image
Proper exposure is essential in newborn photography. Overexposing washes out delicate facial features, while underexposing hides important details and leads to noisy images when corrected later.
How to Nail Exposure:
- Use your camera’s histogram to ensure highlights and shadows are balanced.
- Enable the ‘blinkies’ or highlight warnings on your camera for immediate feedback.
- Shoot in RAW, which offers flexibility in post-processing if minor adjustments are needed.
5. Failing to Soften and Diffuse the Light
Babies have sensitive skin, and even the tiniest blemish can appear exaggerated in strong, undiffused light. Some GTA studios may skip using diffusion tools for convenience, but this generally leads to less flattering results.
Solutions for Soft, Gentle Lighting:
- Use professional-grade softboxes or large diffusers for every studio session.
- Position your light so it ‘wraps’ softly around the baby—never set it straight on.
- Consider natural daylight as the ultimate soft light source, using window sheers to avoid direct sun.
6. Inconsistent Lighting Between Shots
A common oversight in GTA studios is not maintaining consistency as you move around the set. Light can vary with each camera angle, resulting in a mismatched series.
Consistency Tips:
- Mark key positions on your studio floor for lighting stands so they remain the same throughout the shoot.
- Always test exposures from different angles before starting with the baby.
- Take test shots and review on a calibrated screen or good LCD monitor as you go.
7. Overlooking Safety When Positioning Lights
No photo is worth risking a child’s comfort or safety. Some studios forget that hot lights, trailing cords, and unstable stands can be a hazard around newborns.
Safety-First Lighting:
- Only use cool-running continuous lights or properly shielded strobes (never hot bulbs near the baby).
- Secure all light stands with sandbags and keep cords taped down and out of walking paths.
- Always have a spotter or assistant nearby to focus solely on baby safety during setup.
The Importance of Professional Studio Expertise in the GTA
While many photographers offer newborn sessions across the Greater Toronto Area, mastering lighting requires experience and dedication. Professional studios have the equipment, training, and know-how to avoid the pitfalls we’ve discussed. They understand the unique challenges of capturing Toronto’s ever-changing natural light and are ready to improvise when a cloudy day or a small studio space presents obstacles.
If you want a stress-free session, look for photography teams who specialize in newborn, maternity, and family portraits. Ask about their lighting approach—reputable GTA studios will be happy to explain how they achieve softness, warmth, and consistency in every image.
Key Qualities of Top-Rated Newborn Photography Studios
When searching for a photographer, these are qualities to look for to ensure flawless lighting and magical results:
- Highly-trained staff with newborn safety certifications
- Purpose-built studio space designed for portrait work
- State-of-the-art lighting equipment and backup solutions
- Portfolio samples that showcase soft, natural, and consistent lighting
- Positive client testimonials from other families in the GTA
- Transparent pricing and packages
If you’re interested in a curated list of trusted studios, check out our comprehensive guide to the best newborn photography studios in Greater Toronto for 2026.
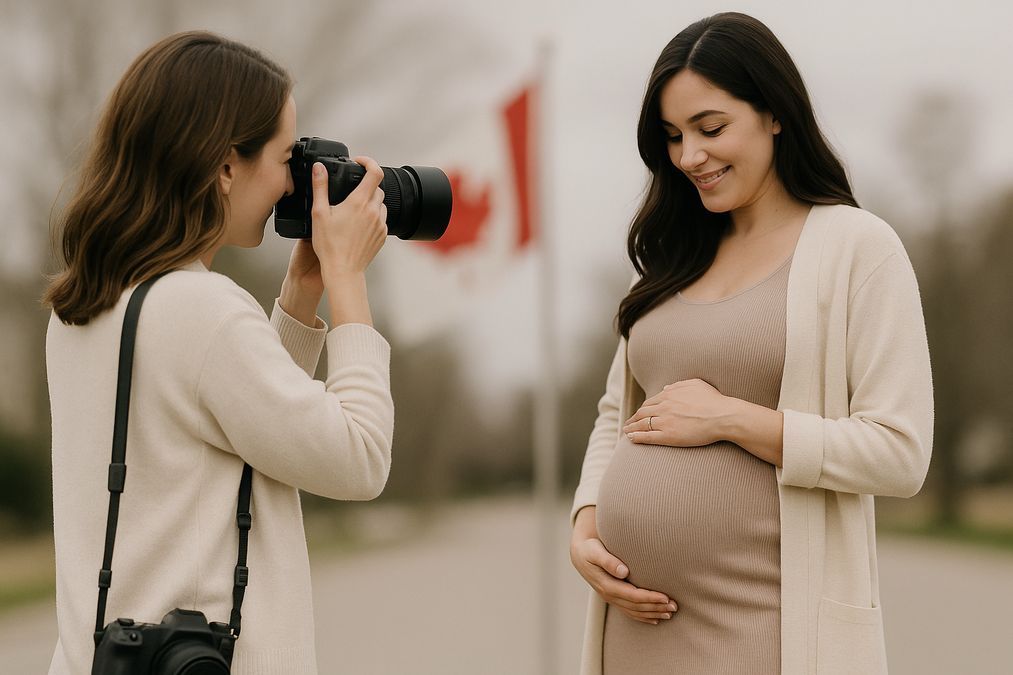
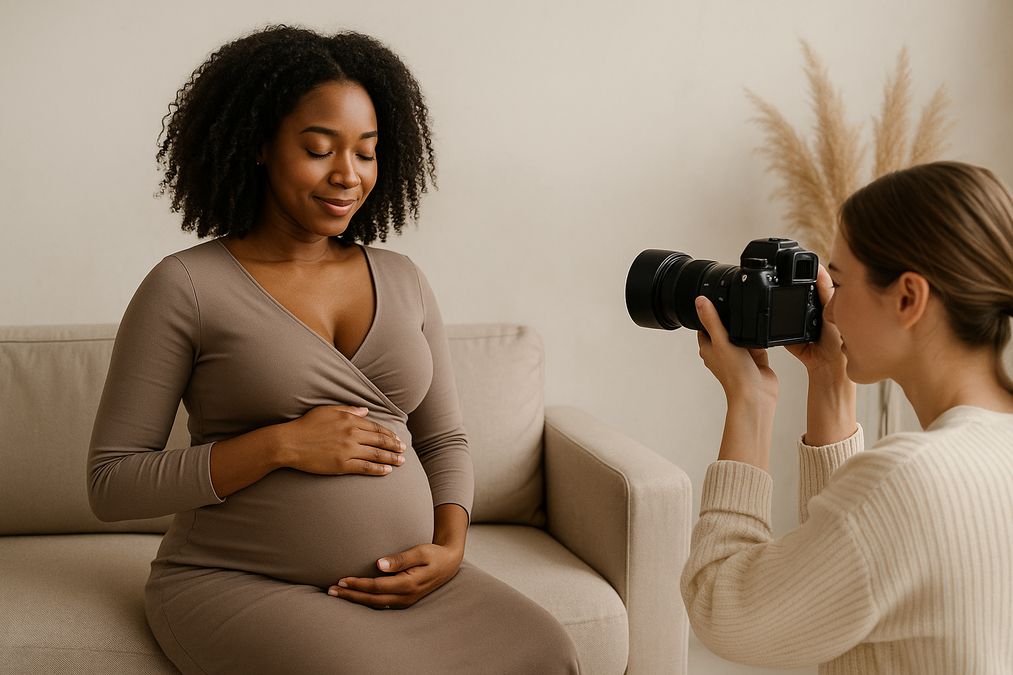
Maternity and Family Photography: Lighting Lessons Cross Over
The lighting mistakes discussed above apply just as much to maternity and family portraiture. Pregnant mothers, children, and extended families all look their best when captured under flattering, well-managed light. Whether you’re shooting outdoors or in-studio, the same commitment to diffusion, balance, and safety yields beautiful results for every age and stage.
If you’re considering a maternity session, explore our Affordable Maternity Photography Studios in Toronto GTA: 2026 Guide for more tips and trusted recommendations throughout the city.
Recommended Tools, Services, and Products for Perfect Studio Lighting
Avoiding lighting mistakes in newborn photography requires the right approach and the right resources. Here’s what every GTA photographer or discerning parent should consider:
- Merry Pix: Based in Richmond Hill, Merry Pix offers a dedicated newborn and family photography studio equipped with the latest lighting and safety equipment. Their team specializes in gentle, natural, and creative portrait photography, making them a top choice for parents across Toronto and the GTA.
- Softboxes & Umbrellas: Invest in large softboxes to diffuse studio strobes, or choose umbrella reflectors for portable flexibility.
- Reflectors: 5-in-1 reflectors can gently bounce or diffuse available light, helping you fill in shadows during a session.
- Continuous LED Lighting: Cool-running and adjustable, high-quality continuous LEDs allow for safe, precise control of light falloff.
- Grey Cards/Calibration Tools: Ensure color and white balance accuracy for consistent results, especially when moving between natural and artificial lighting in GTA studios.
- Floor Markers and Safety Equipment: Keep your workspace safe with sandbags, taped cords, and designated lighting positions for a worry-free session.
How Proper Lighting Elevates Your Baby’s Photos
Why is it worth taking these extra steps with lighting? The answer is simple: properly lit newborn photos capture the tender details that make your baby’s earliest days so memorable. You want to remember every eyelash, every yawn, and every tiny wrinkle—lighting brings those details to life.
- Soft side lighting defines gentle features without exaggerating blemishes or texture.
- Consistent, controlled light gives a cohesive look across your album or wall display.
- Subtle highlights catch sparkle in the eyes and create a sense of depth and emotion.
- Good lighting saves you time in editing and retouching—your images come out beautiful straight from the camera.
Affordable, High-Quality Newborn Photography in the GTA
Worried about affordability? Excellent newborn photos don’t have to break the bank. Many trusted studios—including Merry Pix—offer a range of packages suitable for every budget. They are committed to using expert lighting setups and safety protocols, ensuring your family treasures memories that last a lifetime. For cost-effective options, see our article on Affordable Newborn Photography Sessions in GTA 2026.
Frequently Asked Questions: Avoiding Lighting Problems in Newborn Photography
Is natural or studio light better for newborn photos?
Both natural and studio light can create beautiful results. The key is quality and control. Natural light from a large window, softened by sheer curtains, is ideal for many homes and studios in the GTA. However, studio lighting offers consistency—especially on gloomy Toronto days—and can be customized for any pose or backdrop. Pros know how to balance available light with professional-grade modifiers for the softest results.
How do I know if a photographer is experienced with newborn lighting?
Ask to see a full portfolio, not just highlight reels. Look for even skin tones, natural shadows, and no harsh or blown-out areas. Inquire about their lighting setup and training, and ensure their space is designed specifically for baby safety and comfort.
What’s the best time of day for optimal lighting?
For natural light, late morning to early afternoon typically provides the brightest, softest results. Studio lights can be used at any time but should always be diffused and positioned with care. Many top GTA studios adjust session times according to weather and natural light availability.
Conclusion: Capturing Your Baby Perfectly with the Right Lighting
Lighting mistakes in newborn photography can turn a beautiful moment into a missed opportunity. By understanding the most common mishaps—such as harsh flash, improper exposure, color balance issues, and safety oversights—you’re empowered to choose the best studio or even improve your own photo skills.
Toronto families deserve the very best when it comes to preserving these early memories. Play it safe and put your newborn photos in the hands of trusted professionals who know how to light each moment perfectly.
Ready to Capture Your Family’s Precious First Moments?
Trust Merry Pix in Richmond Hill for professional, beautifully lit newborn, maternity, and family photography sessions across the GTA. Contact us today to book your session or ask about our custom packages!